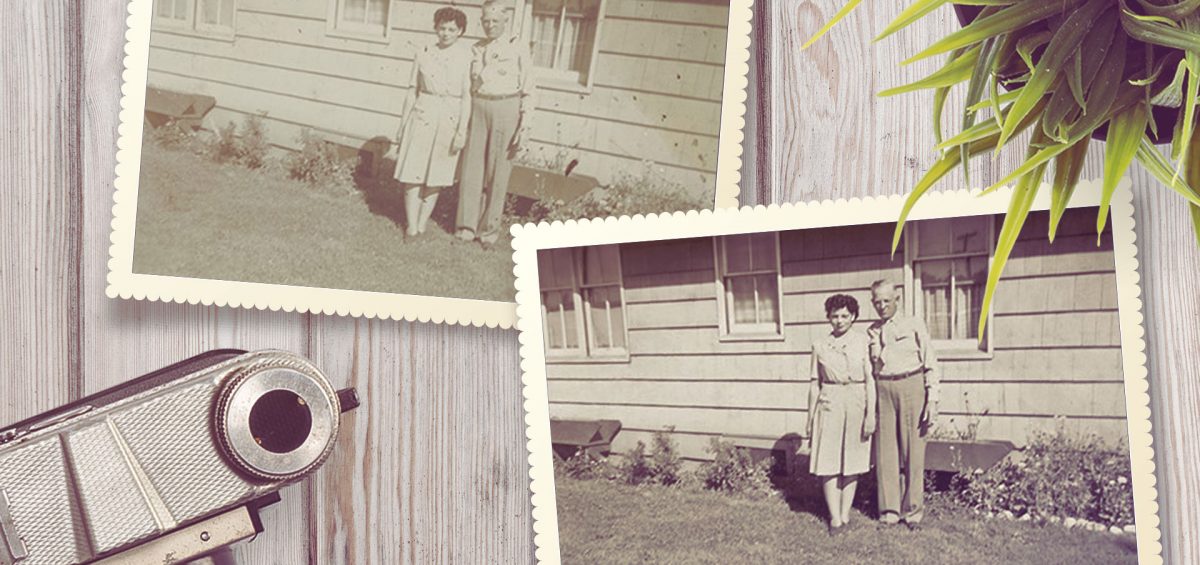
I once gave a presentation on photo restoration to a local historical group.. I stood up and said,
“It’s 10 o’clock…. do you know where your photos are?” Everyone gave a chuckle because most were familiar with that old public service announcement that used to play right before the local news. But people also laughed because they thought about their own photos, sitting in shoe boxes, quietly fading into obscurity or sitting on their computer hard-drives with names such as DSC00456.jpg. Easy to find right?
Photography has made such leaps and bounds in the almost 200 years since it was invented. But not all of the technology has been good nor has it been kind to our pasts. Most photo papers from the 60s and 70s are now very faded or all the green has dropped out and the photo looks faded and rusty. In the 90s, a lot of people moved to slides and of course people now have huge boxes with slides mixed up from many years, with no context other than the date stamp of when the slide was developed.
In the early 2000s, with the advent of digital photography, people started to download their digital photos on their computers but most of them had no context for how to organize them and now, in 2013, there are some great books, such as the DAM Book, and self-help websites such as Scan Your Entire Life for people trying to make sense of years of old photos.
I am a big advocate of all of this and have been working on this very thing with my own family for over 10 years now. I’m still not there and have accepted that it’s an organic process. But where I recommend people start is with the oldest first. Your oldest photos are your most fragile and the most easy to slip into obscurity.
Organizing and identifying the images should be your first order of priority. If you still have family members around, show them the images and have them identify who is in the photos and when they might have been taken or at what specific event. You can write lightly in pencil on the back of the original but be careful about putting too much pressure on the pencil as it will cause the front of the paper to crease. NEVER use ballpoint or marker on the back of an original photo. It may bleed through the front, or worse, stick to another photo that is put behind it. I’ve seen some awful messes made by people who thought they were doing well to identify the image. If you don’t want to write on the image, then start a spread sheet and number the image, again lightly with pencil, and then put all the information on the spreadsheet.
After you’ve sorted these, you may want to consider some photo restoration of some of the better shots. Other family members may want a copy and a print that has faded, gone through color changes, has rips or other damage, can easily be restored to better-than-original condition and printed on beautiful paper. This will produce something you will be proud to gift other family members.
There are some experts out there that can restore the original photo, but our recommendation, and practice at Legacy Multimedia, is to create a digital copy, do the photo restoration on the copy, print the new photo and then recommend that you store the original in some type of archival sleeve or envelope. It’s always important to keep the originals of all your media.
These days, with all the amazing software options, you will be pleasantly surprised at how successful and affordable photo restoration can be.
Stefani Twyford is a personal historian sharing life stories, connecting generations and preserving legacies. To learn more, visit her web site, find her on Twitter as @stefanitwyford, visit the Legacy Multimedia Facebook Fan Page, or send her an e-mail.


